
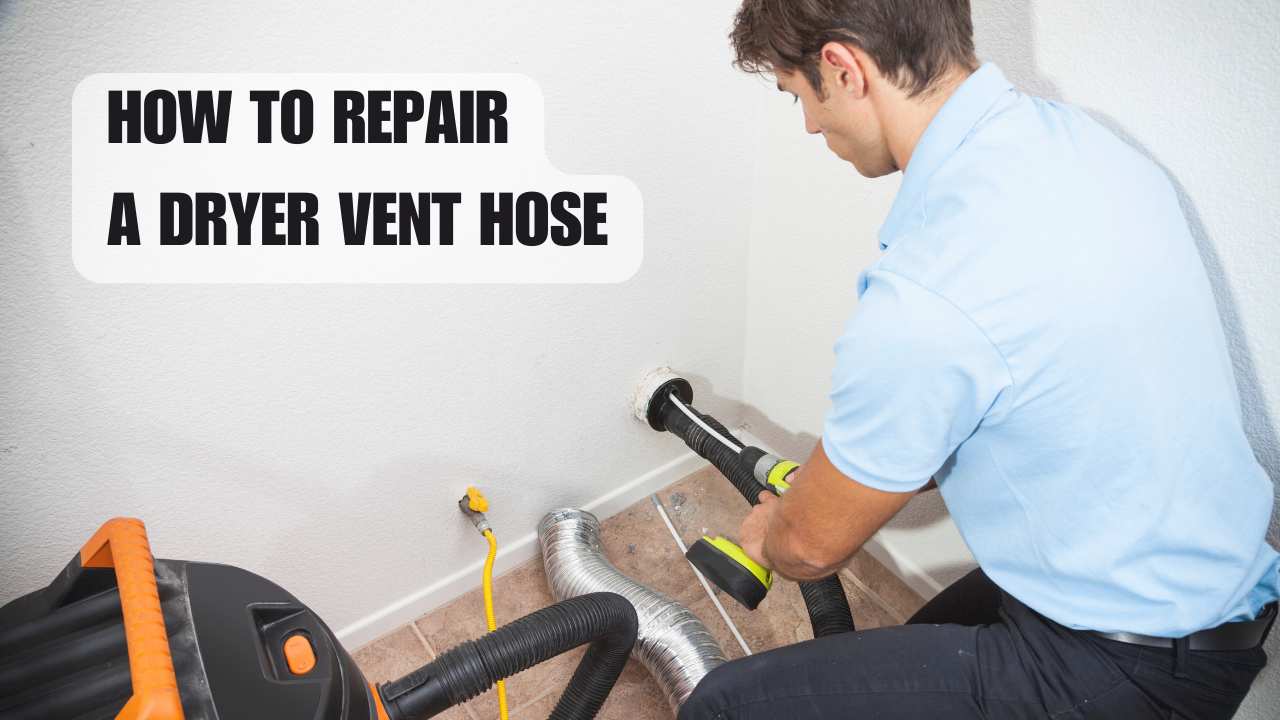
How to repair a dryer vent hose? Your dryer vent hose is a silent hero, quietly whisking away hot, moist air and lint from your laundry room.
But like any hero, it can sometimes get a little banged up.
A crushed hose, a small hole, or a rip can all compromise the vent’s effectiveness, leading to inefficient drying and increased fire risk.
If you notice any damage to your dryer vent hose, it’s important to repair it as soon as possible. But don’t worry, it’s a relatively easy fix that anyone can do with a few simple tools and materials.
Today, we’ll discuss the steps on how to repair a dryer vent hose step-by-step. So grab your tools, and let’s get started!
How to repair a dryer vent hose
Your dryer vent is a vital part of your dryer, and it’s important to keep it in good condition. A damaged vent can lead to several problems, including lint build-up, inefficient drying, and even fire hazards.
Here are some signs that your dryer vent may need repair–
Lint build-up around the dryer vent opening
This is a sure sign that your dryer vent is not working properly. Lint build-up can block the vent and prevent hot, moist air from escaping.
This can lead to clothes that are not dried thoroughly and can also create a fire hazard.
Your dryer is not drying clothes as efficiently as it used to
If your dryer takes longer to dry clothes than it used to, it may be a sign that your vent hose is clogged or damaged.
A clogged vent hose can restrict airflow and make it difficult for the dryer to dry clothes efficiently.
You hear strange noises coming from your dryer
If you hear strange noises coming from your dryer, such as rattling or clunking, it may be a sign that your vent hose is damaged.
A damaged vent hose can vibrate and make noise as the dryer operates.
You smell smoke or burning plastic
If you smell smoke or burning plastic coming from your dryer, it’s a serious sign of a problem with your vent hose.
A fire hazard may be present, so it’s important to turn off the dryer immediately and call a professional appliance repair technician.
If you notice any of these signs, it’s important to inspect your dryer vent hose immediately. If the hose is damaged, you should repair or replace it immediately.
Why is it important to repair a dryer vent hose?
A damaged dryer vent hose is a safety hazard. Lint buildup inside the dryer and around the vent opening can ignite, causing a dryer fire.
Dryer fires are the leading cause of home clothes dryer fires and can result in serious property damage and injuries.
In addition to being a fire hazard, a damaged dryer vent hose can also lead to –
Inefficient drying:
A damaged dryer vent hose can make it difficult for the dryer to expel hot, moist air. This can lead to clothes that are not dried thoroughly, which can cause mold and mildew growth.
Mold and mildew can harm your health, causing respiratory problems and allergies
Increased energy costs:
A damaged dryer vent hose can cause the dryer to work harder to dry clothes. This can increase your energy costs by up to 30%.
Damage to your dryer:
A damaged dryer vent hose can cause damage to your dryer, including premature wear and tear on the motor and heating element.
This can shorten the lifespan of your dryer and lead to costly repairs.
Steps for fixing dryer vent hose
Repairing a damaged dryer vent hose is a relatively easy task that can be done with a few simple tools and supplies. Here are the steps involved–
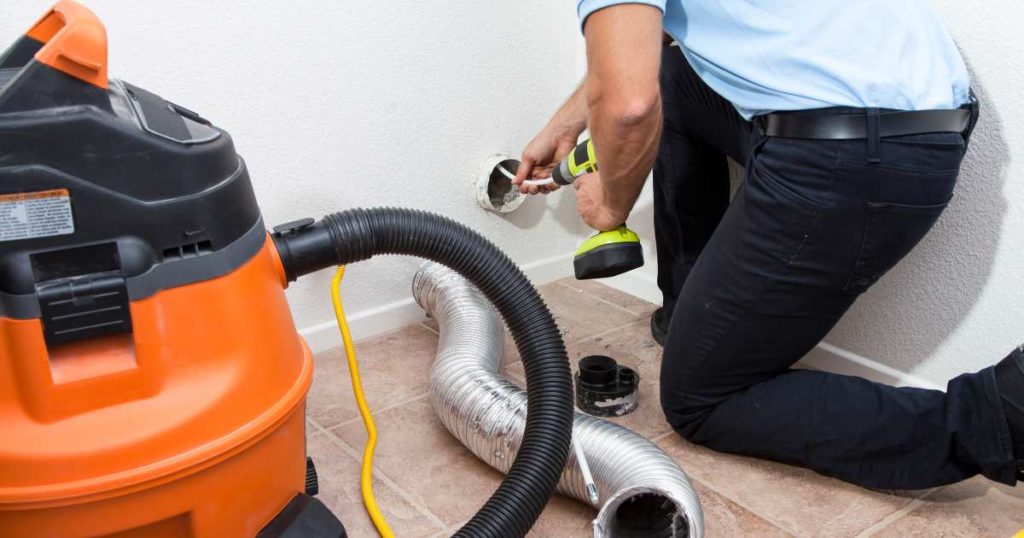
- Unplug the dryer and pull it away from the wall. This will give you enough space to work on the vent hose and prevent you from accidentally bumping into the dryer while you’re working.
- Disconnect the vent hose from the dryer and the vent pipe. Be careful not to kink or damage the hose. You may need to use a screwdriver to loosen the screws that secure the hose to the dryer and the vent pipe.
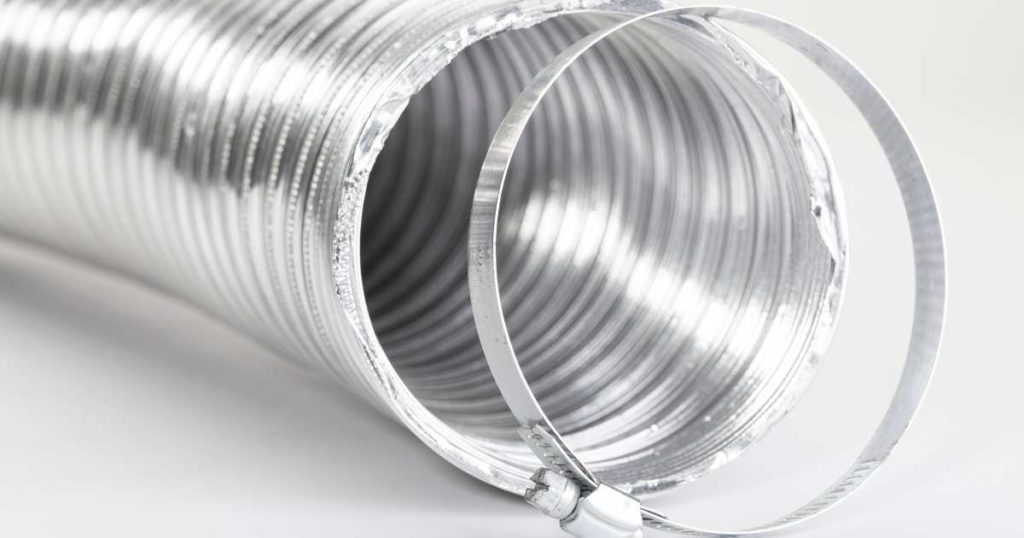
- Inspect the vent hose for damage. Look for tears, cracks, kinks, or small hole in dryer vent hose. If the hose is severely damaged, it will need to be replaced. If the hose is only slightly damaged, you may be able to repair it with aluminum tape.
- If you are repairing the hose with aluminum tape, cut a piece of tape that is slightly larger than the damaged area. Apply the tape over the damaged area, overlapping the edges by at least 1 inch. Make sure that the tape is securely attached to the hose.
- If you are replacing the hose, purchase a new dryer vent hose at your local hardware store. Make sure to purchase a hose with the correct length and diameter for your dryer.
- Once you have a new hose, reconnect it to the dryer and the vent pipe. Ensure that the hose is properly secured to the dryer and the vent pipe using the screws or clamps that came with the new hose.
- Push the dryer back against the wall and plug it back in.
Conclusion
So, there you have it! A step-by-step guide on how to repair a dryer vent hose like a pro. So, if you’ve noticed any damage to your dryer vent hose, don’t hesitate to take action.
It’s a small investment that can make a big difference in the safety and efficiency of your dryer.
And remember, you can always call a professional appliance repair technician if you’re not comfortable repairing the hose yourself.
Need help with dryer vent cleaning Houston TX? Feel free to contact us!